
Sewing masks with leftover fabric

What better reason to dust off the sewing machine than to make something we all need right now — face masks. Admittedly, I have more patience for almost any other craft besides sewing, but I’m determined to like it and get better at it. That seems healthy, right?
Fortunately, there are now several trusted organizations who have published patterns so simple even I can sew them successfully. I spent some time going down the reddit/instagram COVID-19 face-mask rabbit-hole until I narrowed it down to two patterns: one from Johns Hopkins Medicine and one from Kaiser Permanente. They’re nearly identical, but I ended up choosing the Johns Hopkins pattern since I didn’t need to print out/recreate a pattern (peak laziness guys; in the middle of a pandemic with a light workload I’m still choosing the shortcuts). I do want to point out that the Kaiser Permanente pattern has great recommendations for fabric.
Speaking of fabric, I found this helpful guide on the best materials to use for a mask which takes into account both effectiveness and breathability/comfort. My biggest takeaway from all 3 sources is that a thicker weight 100% cotton doubled up will be the best overall option.

Fabric Scraps
This was my final selection of fabric choices, all 100% cotton with a density similar to a dress shirt or bed sheet.
Once I selected my fabric options, I washed and dried them all on high heat two times. This guarantees that the fabric is pre-shrunk and won’t shrink again once you’ve sewn your mask. I decided to start with a test mask with my scrappiest fabric to work out any mistakes early on. Now it’s time to measure, cut, sew, and pin!

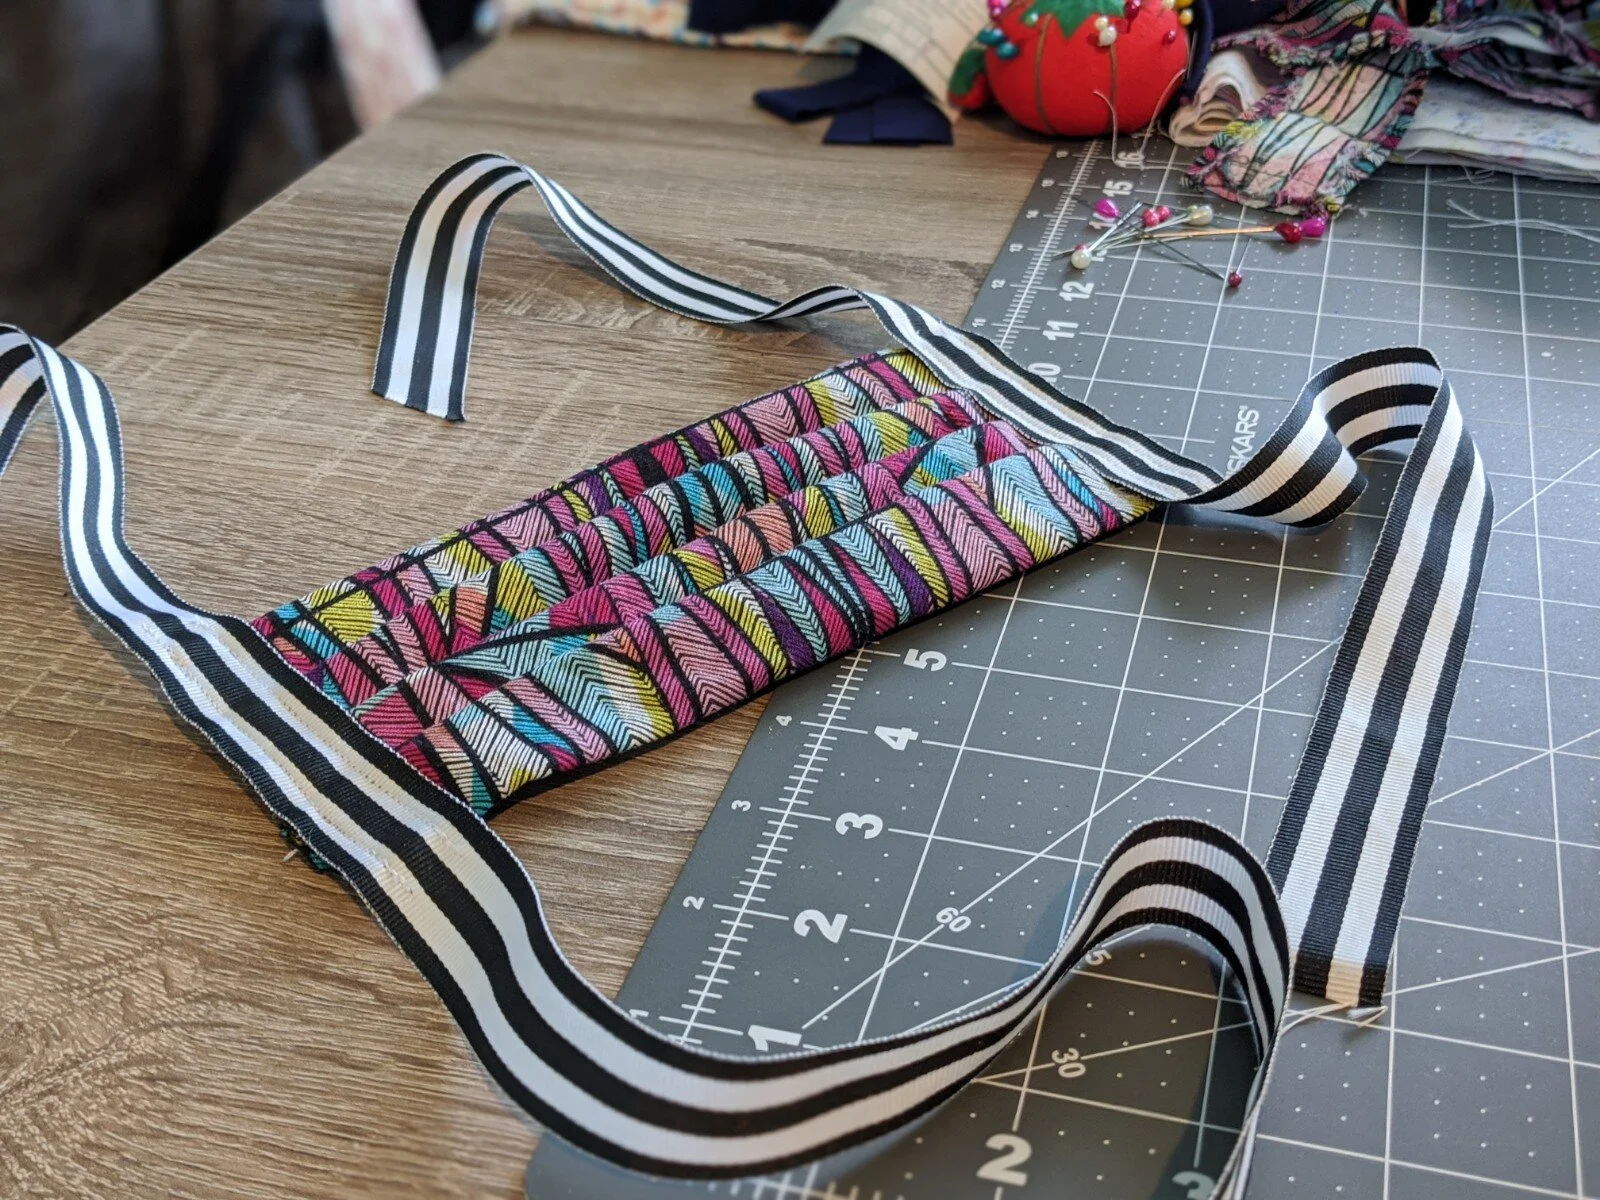
For the prototype I decided to use some leftover ribbon I had, which was a bit too thick. It works in a pinch, but it ended up leaving gaps on the sides of my face. This meant that for my final masks, I would need to go with the extra-effort option (and it is A LOT of extra effort) of making my own ribbon out of fabric. If you have or can get 1/2” grosgrain ribbon, DO IT. Sadly I did not, so I had to cut out 4 - 48” long x 1” wide strips of fabric which then gets folded in half & ironed, then each side of that gets folded in half & ironed, and then stitched together. This easily took an hour just for the 4 strips of fabric.

Cutting Strips
Pinning and ironing in between each step of folding the ribbon helped keep the seams clean, but added a significant amount of time to the process.
After the strips were FINALLY finished, I was super excited to get these sewn on the masks so I could be done with them already. Pro-tip: don’t wait until this step in the process to experiment with all those fun stitch options on your sewing machine that you’ve never tried before, otherwise you’ll spend the next hour ripping all the mountains of thread out of the mask and the sewing machine… 🤦🏻♀️
The strips on top of all the folds are a bit thick, so keep that in mind when running this through your sewing machine. Overall though, this is a relatively easy pattern for a mask that fits great and is machine washable!

For anyone interested, here is the sewing machine I use and recommend for a sewing-beginner like myself!

Singer Stylist 7258
This has been a great machine with enough features to keep me busy, but easy enough to use as a beginner.
Note: for this pattern, they’ve recommended adding a nose strip casing so that you can add in a flexible wire to shape to your face. I haven’t added this in yet, but it can easily be sewn onto the finished product. From what I’ve read, it seems like pipe cleaners are the best option. In a pinch, I’m thinking about trying them out with twist-ties. Let me know if you have any recommendations of your own!